Ok, be warned this is a long {and awesome} post. :)
I've been a gift wrapping machine this past week. Mr. Lovie has been spending lots of time at the library due to finals so it has given me time to get my wrapping done (without him peeking!).
Ready to make some of these??!
Or these?!
I LOVE wrapping gifts. Making bows is like a second nature to me because I have done it A LOT. In high school and through college I worked at Horne's of the Bluegrass, a gift shop in Paris and Georgetown, Kentucky and I attribute all my bow-making skills to Carolyn, a wonderful lady I worked with there. We wrapped hundreds of gifts during the Christmas season so I became quite the skilled bow-maker! I am now going to share those wonderful bow-making skills with you as well as some other super fun bows that I came up with.
First up is the Fancy "department store-type" bow. This is the bow I learned to make while working at Horne's.
Like all packages. Tie some bow around it first. I usually do mine like the gift above. You could do it in the middle or if it's a rectangle box, you can do it more towards the top like I did above. I usually just use enough ribbon to have very small tails like shown above that I can either keep or cut off completely. If you have tons of ribbon you can make those tails long so that they hang down the front of the package.
First create a loop with the ribbon. The diameter of this loop should be the width you want your bow to be when it's finished. I made a very big one because I wanted a very big bow. I used a very wide wire ribbon, but really almost any ribbon would work.
Tape the end of the ribbon in place. It won't stay very well, but it's ok. It'll work.
Loop the ribbon around at least 5 times. If you have tons of ribbon, do it 6 or 7 times. (I only did it 5 times to conserve ribbon.) Keep the loops tight together.
Close the loop flat.
Then fold it in half.
Then cut triangles out of the folded part of the loop on each side. Keep just a tiny bit of the loop left.
Use a small ribbon tie and cinch the middle of the large loop together.
Then separate the individual loops by pulling them apart and alternate twisting them down and then up.
Tie it to the ribbon on the package and snip the small ribbon.
Do some final arranging and you're done!
This idea can also, of course be down with ribbon that's a little thinner. You can play with the number of loops you use or the size of the loops. The more loops the fuller it will be. I usually increase the number of loops with the size of the bow I'm making. If I make a bow that will have a large diameter I will increase the number of times I loop it around.
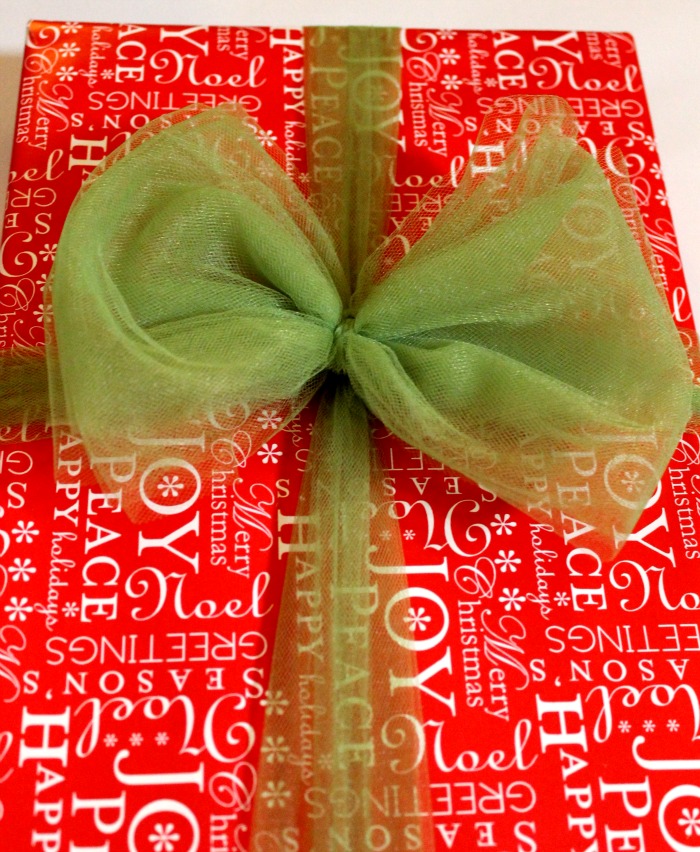
This bow is so cute!! I just love working with tulle.
I found this great green tulle in the perfect width in the wedding section at Michael's. It was about the same price as or lower than some of there gift ribbons were ($2.99).
To make:
Create several loops of tulle on top of each other by wrapping it around your hands as shown above.
Grasp it in the middle like shown above and tie with small ribbon (or I just used a tiny piece of tulle).
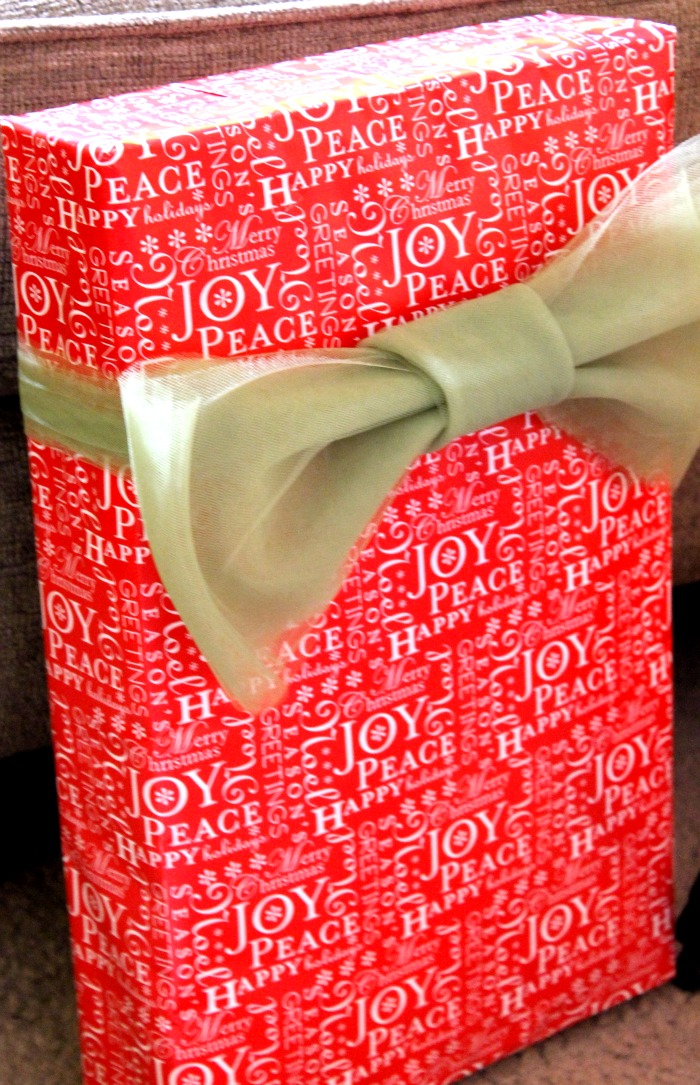
Tie it onto the package. I think the bow looks super cute here, too. So you could leave it. Or...
Cut the loops apart on each side.
And cut the middle layers so that they are shorter than the ones on the outside edges.
And done. Precious.
I think this one might be my fave.
I did not even remember I had this fabulous gold glitter tulle. I bought it when I saw it in a sale bin at Jo Ann's and just knew I'd find the perfect use for it. I was right.
Create the pom the same way you did the fluffy tulle bow except cut the ends of the bow before tying it on and pull apart the layers and create a full circle pom.
Tie the pom onto the package.
And fluff! LOVE!
You could even play with mixing different color tulles.
I also made this one (not crazy about the color combo, but I wanted to show you the technique anyway) by rolling tulle along with the ribbon when making a Fancy Bow. It definitely created a very full bow.
I like this color combo and technique better, though. I created a Fluffy Tulle Bow and a Fancy bow and added them on together and fanned the tulle out nicely under the Fancy Bow. So fun.
I love simple bows. Why not add them to packages?!
The tulle for this bow needs to be very smooth. Instead of rolling to create the loop I folded it over itself several times as shown above.
Then fold a small piece of tulle over itself several times. This will be the middle of the bow.
Fold the bow like a fan and place the small piece of tulle around the middle and hot glue it to itself in the back.
And done! While I like this huge one, I think these would be precious if they were small.
Cuteness.
Fancy is always fun, but simple can be really great, too. I just love this fuzzy wired ribbon I found at Michael's. On the gift above I paired it with a glitter rick rack and tied a simple bow.
And on this one I thought that wired red fuzzy ribbon was enough!
I hope you enjoyed my Fancy Bow tutorials!! Have fun wrapping your own!!
Merry Christmas!
Linking to the great parties on my sidebar.
This marks the end to my Miss Lovie First Anniversary Event! Thank you so much for reading!
Today is the last day for the Shwin and Shwin Giveaway so be sure to go enter! The other giveaways are still going so go enter those as well!