PhotobucketPhotobucketPhotobucketPhotobucketPhotobucket

780x90

Hello! If you're new to Miss Lovie, I'd love for you to subscribe for free updates! You can subscribe by RSS feed or by email! Also be sure to follow on Facebook and Twitter for more Miss Lovie goodness!

Sunday, September 18, 2011

Triple Braided Necklace {a Tutorial}

Here's the tutorial for the triple braided necklace for anyone who's interested! I made this necklace for the SYTYC contest during Dollar Store Crafts Week  so my materials had to come from a dollar store. You could do the same or you could probably find them at a craft store just as easy.
Materials:
Lace curtain (or lace material)
4 old necklaces like pictured above (or chain and a clasp closure)
hot glue
Wire cutters 

This necklace is made out of several braids. It's a little confusing to explain, so if this tutorial is not clear, let me know!! 
Step 1. Make 3 tiny Braids
Cut 9 1 inch strips of the lace. I am not sure how long I made mine exactly because I never measure. And then I kick myself when I'm writing a tutorial. :) The strips are approximately 24 inches long. 
Tie 3 strips together (loosely! you will untie that knot later) and braid all the way down. You can either tie a loose knot at the bottom or leave it. Then do this 2 more times. You should now have 3 tiny braids. 
Step 2: Make the medium sized braid with chain.
Now you tie those 3 tiny braids together loosely with the chain in the knot. Cut your chain with the wire cutters to be as long as one of the tiny braids. Braid the chain along with one tiny braid. (If you have a lot of chain you could tie in 3 pieces of chain and braid a chain along with each tiny braid. I would have done that but my supplies were limited because of the dollar store challenge.)
When you're finished, your medium braid should look like this. 
Step 3:Now REPEAT Steps 1 and 2 twice so you'll have 3 braids like  the one above. 
Confused yet?!
Step 4: Braid your three medium braids together into one big braid.
When you're braiding your medium braids into one big braid, you probably won't be able to tie it in a knot at the top. Just braid best you can and then untie all the temporary knots from the braids when you're finished so your ends look like the one above.   
Cut off any excess from the ends to make them (mostly) straight. You'll have to use wire cutters to cut the chain if needed.
Then take a strip of lace and fold it a few times so it's not so see-through and wrap it around the ends and hot glue it down on both sides. It's okay if the glue shows through some because you're going to wrap another strip around it. 
Then take another strip and wrap it really tightly around the end piece you just made and hot glue it to the back. If you pull back the wrapped piece just a little and stick your hot glue gun under it and then tuck the end of the wrapped lace in there, it looks much better than just gluing it on top. The picture above shows the tucked in end but it's hard to see! And that's how you want it to be. 

My wrapped piece on each end was hanging over the edge just a little and looked sloppy so I hand-stitched each end up using a slip stitch  to make it look neater. You may or may not need to do that depending on how your ends turn out. It did make for a nice clean end though. 

I kind of think they look like Sock Monkey hands. ha!
Then cut your necklace apart using wire cutters so you can attach them to your braid. I was lucky that my chain was the exact length I needed it to be. You may, however need to make the chains shorter if it doesn't land where you need it to. I always hold the chain in place with my fingers before gluing and take it to the mirror and move it around until you find the place it looks best. Mark where you need to cut the chain (if you need to) with your fingers, and then go cut it. Once your chain is the length you need,  glue each end to the ends of your necklace by placing hot glue on the back of the end, placing the chain on top of the glue, and then placing a folded up piece of lace on top of the chain. 
Here is the finished braid up close. If I did it again, I would add more chain, but I like it still. 
The braid was cute, but it needed a little extra flair so I hot glued some velcro to one end of the braid and also to a pom flower and a bow. (Click on the links to see the tutorials on how to make the flower and bow. For the bow, I follow her tutorial except I didn't round the edges.)
By having velcro on there I can change them out! 
And there it is! All finished!

I love it in white, but how cute would it be in a fun floral print?! Or a mix of a fun floral print and chiffon? I might have to make a new one to find out. :) :)
Thanks for reading! 
Linking to the parties on my sidebar!

Check back tomorrow for the Big Announcement. And a possible giveaway. Excited! 
Photobucket

Saturday, September 17, 2011

Winner of The Wheatfield Print!

And the winner of the 8x10 of her choice from The Wheatfield is......

[profile+pic.jpg]
who said....


Thank you, Random.org for generating our winner for us! 

Congrats, Rebecca! Be expecting an email from me soon about your winnings!

Ok everybody. Be sure to check back with me later this weekend because I have an exciting announcement to make. And it's about Halloweeeeeeeen! My favorite. 

Photobucket

Wednesday, September 14, 2011

Triple Braided Necklace and Go Vote This Week!

Well my triple braided necklace with the flower and bow attachments barely squeezed past the first round in SYTYC. Here it is if you missed it! 
From this......
To This!!

Materials Used:lace window valence ($6) and (actually 3-had to go back for more) women's necklaces ($1.50 each) all found at Dollar General
What I came up with: a fun and playful triple-braided lace necklace with interchangeable accents: a flower and a bow.
Here's a close-up of the braid. It's kinda hard to tell how many braids I actually did to make it that thick, but I think it turned out super cool looking. I used the chain from the extra necklaces I had to go back and braided them in with the second set of braids so there's just a touch of shine to the braid. 
 I used velcro to attach the bow and the flower so they could be changed. 
This challenge was so fun!  I'll have to pop in dollar stores more often and think about how I can repurpose some cheap items! Hope you like it!!

I may do a tutorial later on this week.
Please go vote for your favorite thrift store craft this week over at SYTYC!!
Thanks! And thanks for reading!
OH! And don't for get to go comment on this post to win a wonderful 8x10 print by The Wheat Field!!

Photobucket

Sunday, September 11, 2011

Birthday Giveaway with The Wheat Field Etsy Shop

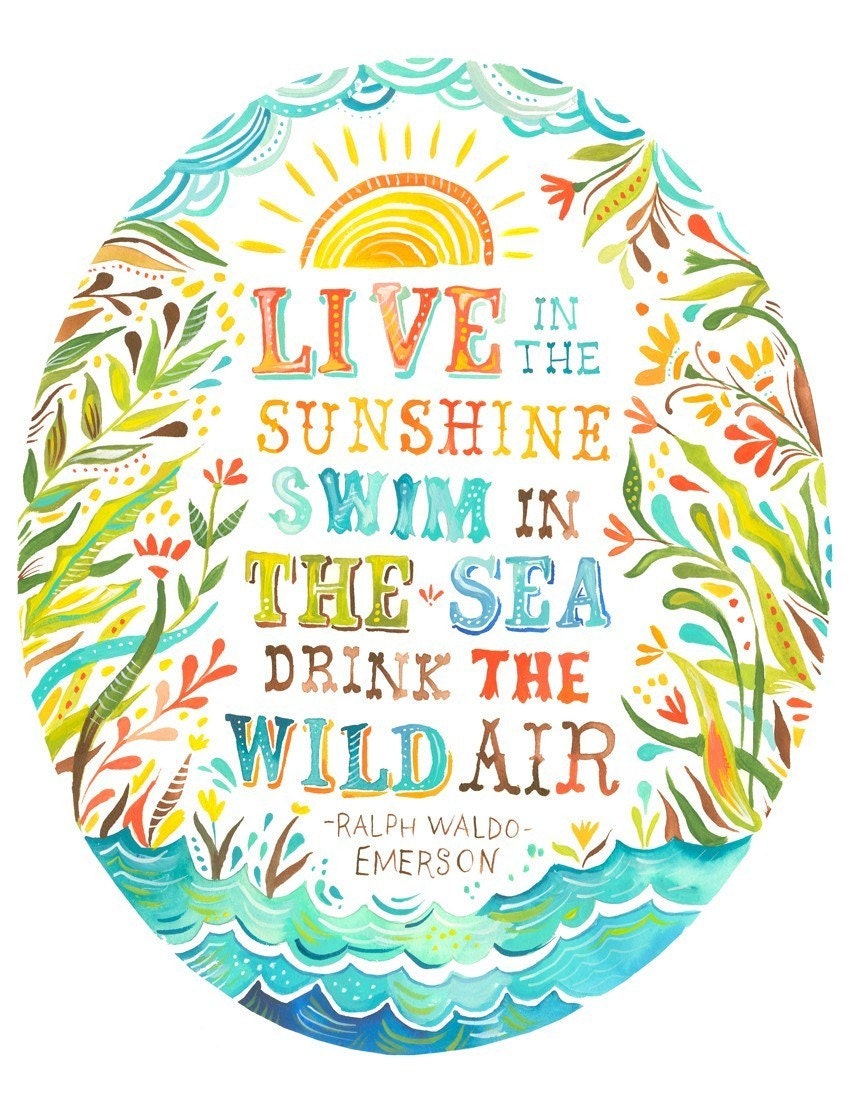
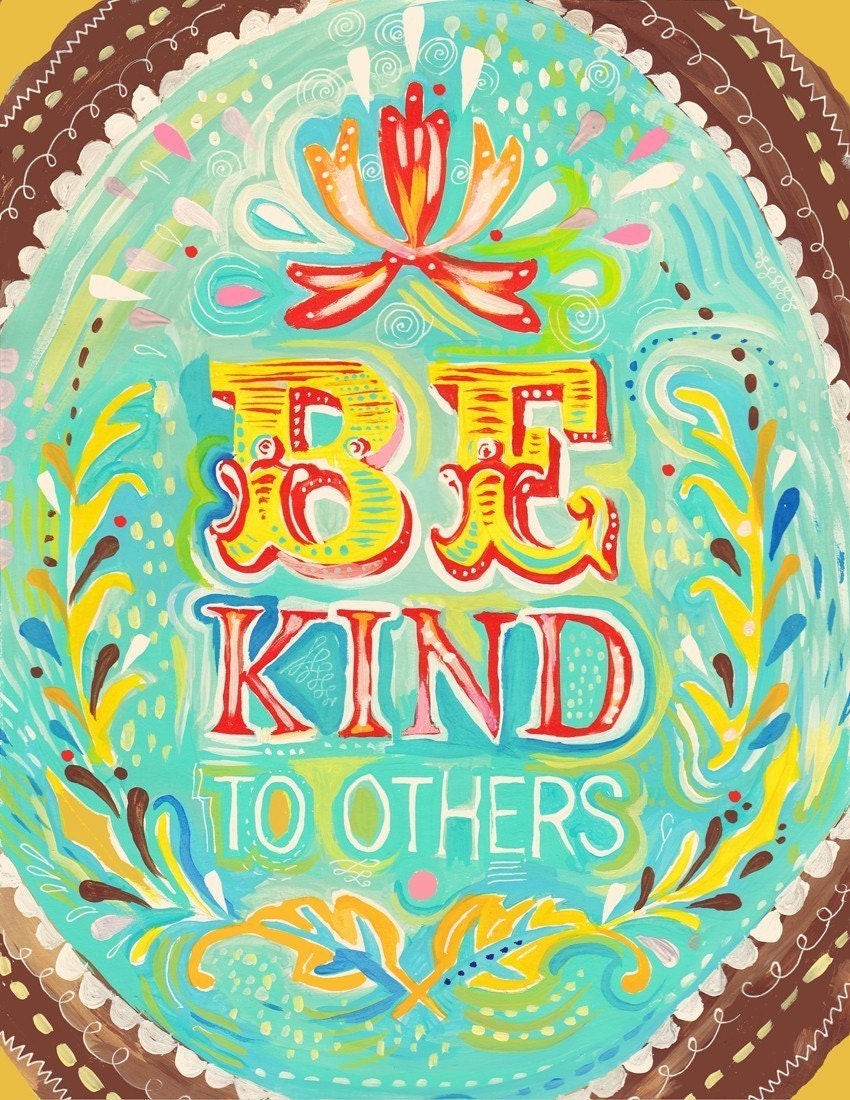
It's my birthday today!! So in honor of my birthday, I'm doing a fun giveaway for you!! I really appreciate all my followers and supporters and thought it was high time I did something nice to show it. And no, actually, this giveaway is not made by me!!! It's made by the super talented Katie Daisy of The Wheat Field. Katie has been kind enough to let me give away one free 8x10 print of your choice from her shop!! Here are some of my favorites. 
13 x 19 Wild Air
il_fullxfull.193420069.jpg (500×647)
Be Kind
So pretty, right?
I couldn't help but to show you more!
 Katie is "an illustrator, designer, professional daydreamer, and lover of all things rural." (quote taken from her blog.) And on top of all that goodness, she's super nice, too. I just love her work. It's so bright and colorful and the intricate designs are just gorgeous. Not to mention the quotes on each piece are great. I actually have this print and this print in my craft room right now! 

Ready to win an 8x10 print of your choice?!
To win, you must be a follower or subscriber of Miss Lovie. :)

Remember if your email is not on your profile, you need to put it on each comment you leave. 
Must-Do Entry: 
Head on over to The Wheat Field, find your favorite print, then come back to this post and leave a comment telling me about what print you would choose. 
Additional Entries (only if you want!): 
For each of these entries, you must do them and then come back to this post and leave a comment telling me about it. 
Blog, Tweet, or Facebook about this giveaway (up to 3 entries)
Favorite The Wheat Field on Etsy

I will be using Random.org to generate the winner of this giveaway. 
Giveaway ends on Friday, September 16 at midnight.
Good Luck!!
And thanks for reading!!
Photobucket

Saturday, September 10, 2011

Lovie Pie

So it turns out Mr. Lovie can be pretty crafty, too.
I present to you, "Lovie Pie." 
My birthday is tomorrow. This is my birthday pie made by my wonderful Matty boy. 
Confession: I hate icing. Especially birthday icing. Ick. I like cake, but I hate icing. So for my birthday every year Matt makes me this awesome chocolate pie. The first year we were dating Matt bought me this delicious pie that I had mentioned that I loved from a local restaurant in Lexington
Here is the bought pie (I don't remember the name!) in 2009.
Then last year he made his own. Lovie Pie was born in 2010.
And here is this year's! How lucky am I?!

If you'd like to make your own awesome Lovie Pie to celebrate my birthday with me, you can find the recipe here! 

Be sure to stop by tomorrow for my actual birthday and an awesome GIVEAWAY!!
Photobucket

Monday, September 5, 2011

Welcome Fall Wreath {A Tutorial}

Happy Labor Day to you!! I saw on some website somewhere today that said that labor day was the official goodbye to summer. I usually would not believe that, but shew. These fall temperatures that surprised us today are not playing around. I'm pretty sure that I saw that it got up to 100 degrees this past weekend. It is now barely 70. Ha! Hello, fall!! And Welcome!

 For those of you who don't know me super well. Fall is my FAVORITE. I love everything fall: it's my birthday season, fall foods are delicious, the smells that come with the season, the COLORS!, mums, pumpkins and other decor, the beautiful trees, and those glorious days where you can wear jeans, a tshirt, and flip flops and it feels amazing outside. OH. And let's not forget Halloween. I am way too obsessed with that holiday. Unfortunately fall is a crazy busy season at school as well. Hopefully I will be able to carve out as much crafting time as I hope I can so I can craft up some great fall ideas for you!

Today's post is on a wreath I actually created last year and could not WAIT to pull out of the closet. It is now hanging on my door and I'm resisting the urge to go buy some pumpkins to match it. 


Wanna make your own??
It's so easy.

Yes, this wreath is inspired, again, by this gorgeous Pinterest phenomenon made by my friend Dara at Teach Craft Love.
crafts+005.jpg (1200×1600)
 Seriously I have seen this wreath ALL OVER Pinterest. Congrats Dara! Remember, though, it's good Pinterest etiquette to pin from the original site so: Here's the original link to this wreath! I'm sure you can see why I've gotten so much inspiration from that wreath. It really is SO pretty. And the possibilities for changing it up are endless. 

I first introduced you to Dara's gorgeous wreath when I made this:

So now, I present you The Welcome Fall Wreath. Enjoy.
Materials Needed:
Grapevine Wreath
Large Flowers 
(Buy them ONLY when they're 40% off or more! Otherwise they're ridiculous. I love Hobby Lobby's flower selection the best and they usually almost always have them on sale.)
Fall Berry Sprigs (3-4)
 Fuzzy Sprigs (1, cut apart)
Floral Wire
Wire Cutters

When shopping for materials to make a wreath I scour the floral section of craft stores for fun and interesting textures.  I never know what I want the wreath to really look like until I get to the store and then the look of my wreath just kinda falls into place (usually after a somewhat long decision-making process). I just LOVE the fuzzy sprigs I found last fall. They added a whole new element to the wreath.
 Once you have your materials picked out, wrap wire around your flower in between petals so that the wire is hidden and secure it to the wreath by wrapping it around a couple times and then twisting the wire around itself. Tuck the twisted wire deep into the grape vine so it doesn't stick you. If you're using several flowers, place them close enough together so they don't show the grapevine in between, but aren't too squished. 
Next, Add the berries. Sometimes I clip apart the sprigs I find so there is a good distribution of the berries, but with this sprig, I found that if I pulled them apart, they covered a wide area while keeping the whole sprig in tact.  
See? Spread them out a lot. Then attach them to your wreath with floral wire the same way you attached the large flowers.
Here's the wreath with just the berries. I almost stopped here. It looked nice enough. And pretty simple. But those fuzzy things were just so fun.
 The fuzzy balls were way too close together on the sprig as it came so I cut them apart into tiny clusters as shown above. I believe I attached these with wire also, but it might be faster to just stick a dab of hot glue on the end of the cluster and push it into the wreath with then end of a pencil. Attach them all over.
 Here it is with both berries and fuzzies. Love.

Hope you enjoyed the tutorial!! If you make something similar I'd love to see it!

I think I might throw on a cardigan, go drink a Pumpkin Spice Latte, and go see if the florists have any good mums out. 

Linking to the parties in my sidebar!
If you love this wreath, you may love my new fall wreath from this year, too!


Photobucket

It's Time to Vote Again!!

Happy Labor Day everyone!!
 I hope you are having a relaxing holiday weekend! I had a great visit in Lexington the first part of the weekend with family and friends and am now doing laundry and lesson planning. The first part of my weekend was way more fun...
Ok! It's that time again! I am an official competitor of So You Think You're Crafty and we are moving on to Round 1! SO....I need your help. PLEASE go right now and vote for your favorite Dollar Store Craft: So You Think You're Crafty: Dollar Craft Week

There are some great projects up this weekend. The competition is steep! Remember, this is an anonymous contest so you probably won't know which is mine, so just vote for your favorite. 
Thank you so much for voting! 

Thanks! And check back really soon for a Fall Wreath Tutorial. Get excited.

Photobucket
Related Posts Plugin for WordPress, Blogger...

invisible ad