PhotobucketPhotobucketPhotobucketPhotobucketPhotobucket

780x90

Hello! If you're new to Miss Lovie, I'd love for you to subscribe for free updates! You can subscribe by RSS feed or by email! Also be sure to follow on Facebook and Twitter for more Miss Lovie goodness!

Friday, January 21, 2011


OH, the Silhouette Machine.

If you go to craft stores ever or look at any craft blogs- you've heard of this amazing Silhouette machine. It can do just about everything under the sun.  You can make stencils, etch designs on glass, make paper crafts, create vinyl cut-outs, anything! It connects right to your computer and comes with a software to help you make all your creations. It also takes whatever font is on your computer, too. The possibilities are endless. Here are just a few things I found on their website and blog that have been made with it! 


Scrapbook pages
 cards 
vinyl decor 
 etched glass
 temporary tattoos
sketch designs

And the list goes on. Holy cow. I'm sure you're thinking. "Ok, cool, but for what price?" And you'd be right- they're expensive. That's the reason I don't have one. I just got an awesome (and also expensive) sewing machine and cannot justify buying one of these bad boys (especially when I haven't even "mastered" sewing yet!) 

BUT since I am the ultimate craft blog stalker, I have found several blogs that are giving them away!!! Be like me and click on the links below and follow the directions on each blog to enter to win one! It comes with lots of cool stuff, too. OR a lot of these lovely ladies are also giving you a promo code that you can use to just go ahead and buy one at a discounted price.


I hope you and I both win one. :)


ALSO, I promised a necklace tutorial and I am working on it, however, I don't believe it's gonna happen today. This apartment's gotta get cleaned, unit and lesson plans need to be finished, and laundry needs to be put away. If only MLK day was a 2 day holiday. :) Check back soon, though! 

Monday, January 17, 2011

Circle Lace Earrings

I created these on accident. I was trying to re-create the earrings like these on Happy Together, but I tried to just remember the tutorial without looking at it. I hadn't actually looked at her tutorial for her fabric flower earrings in a long time and skipped the step of folding the flowers and sewing them together. After making these, I looked at her tutorial, realized I'd missed a step, and tried them her way. I think the lace works better as simple flat circles, though. When I sewed them like Jessica had, they turned out really weird. I decided I liked the way mine turned out fine. :)
Here's how I did it!
Find some pretty lace and cut out 6-8 circles per earring. I cut my circles out of the edge of the lace shown in the picture above. 
Once you stack the circles on top of each other put a few stitches in the middle of the circles, and then add the pearl and sew a few more stitches. I used invisible thread (aka fishing line) for sewing.
I like to put just a touch of hot glue under the pearl for extra security. You can find posts like these at just about any craft store that sells jewelry supplies for pretty cheap. 
After you get the pearl glued down, glue the flower to your post. (Ignore my Christmas decorations still up. Yikes. That's #1 on my to do list tomorrow!)
I probably should have sprayed the lace circles a long time ago before sewing the pearl on, but I forgot. The spray didn't hurt the pearl so it's cool. 
And you're done!
 Here I am modeling them for you. (Don't get jealous of my super professional camera.)
 And again...
I made these for a friend for Christmas and just had to make some for me, too. I love them.

I also made these:
and a sweet fabric flower using this tutorial on V and Co

ALSO...remember how I said I wanted to start making more jewelry and had some ideas I wanted to try? Stop back by tomorrow for a tutorial on how to make this necklace! 
I'm really excited about it! Aren't you?


Linking this post up at these parties!
DIY Project Parade


UndertheTableandDreaming
Get Your Craft On Tuesday


Photobucket

Tuesday, January 11, 2011

Mish Loviiiieeee

After saying, "Yeah I just started a new blog that keeps track of my craft adventures!" The question inevitably is "Cool. What's the name of it?" When I answer, "Miss Lovie," sometimes I get this face:

Haha. Not really. But I do get a few weird looks which are usually quickly turned into reassuring smiles so they don't hurt my feelings. I don't feel like the name of my blog is that weird- I love it, of course, but you could use an explanation, I suppose.

Before crafting, teaching was all I did really. Actually, it STILL is- I just fit in crafting as much as possible (and more than I need to probably for my job's sake sometimes). When I finally discovered that teaching was my true passion in college (after switching from pre-med-HA! What doctors have time to craft?!), I did my student teaching in a small town near Lexington, KY (where I'm from) and met a creative little person there who was sweet, loving, and always thought out of the box. It was students like (let's call her "Sam") "Sam" who made me love love love my job.

I so wish I could post her picture here because it would really help you get all that was her in your head.

I'll try to explain: She was a petite, spunky 2nd grader with mousy brown hair and a smile that took over her face. For some reason, from day one she ADORED me (a little creepily adored me sometimes, but it was still somehow sweet. haha.) She hugged me so much that it began to interrupt my teaching and we had to make a deal that she could hug me twice a day- once in the morning and once in the afternoon. Of course, this child refused to call me by my name and deemed me, "Miss Lovie." She had a slight speech thing going on, though, so it was more like "Mish Lovie", and every morning she'd greet me with a smothering hug while batting her eyelashes at me, and would drag out her words, saying, "Hellooo, Mish Loviieee!"

She was the kind of kid who was super curious about everything and loved to learn new things (what teacher doesn't love those kinds of kids?!) and was just a cool kid. For one assignment they had, the kids wrote about how to take care of a certain pet. "Sam" wrote about how to take care of earth worms and it was really, really detailed. Funny.

She loved having me as a teacher and I loved getting to know her and watching her grow. From then on, I wanted to be Mish Lovie for all my students -someone they loved, and felt loved by, trusted, respected, learned from, and had fun with. Miss Lovie would be a great (now) kindergarten teacher's name wouldn't it? "Sam" was crafty, too...for my going away gift she painted a tiny vase for me. I've been turning my apartment upside down for it the past couple days, but I think I lost it in the move. :(


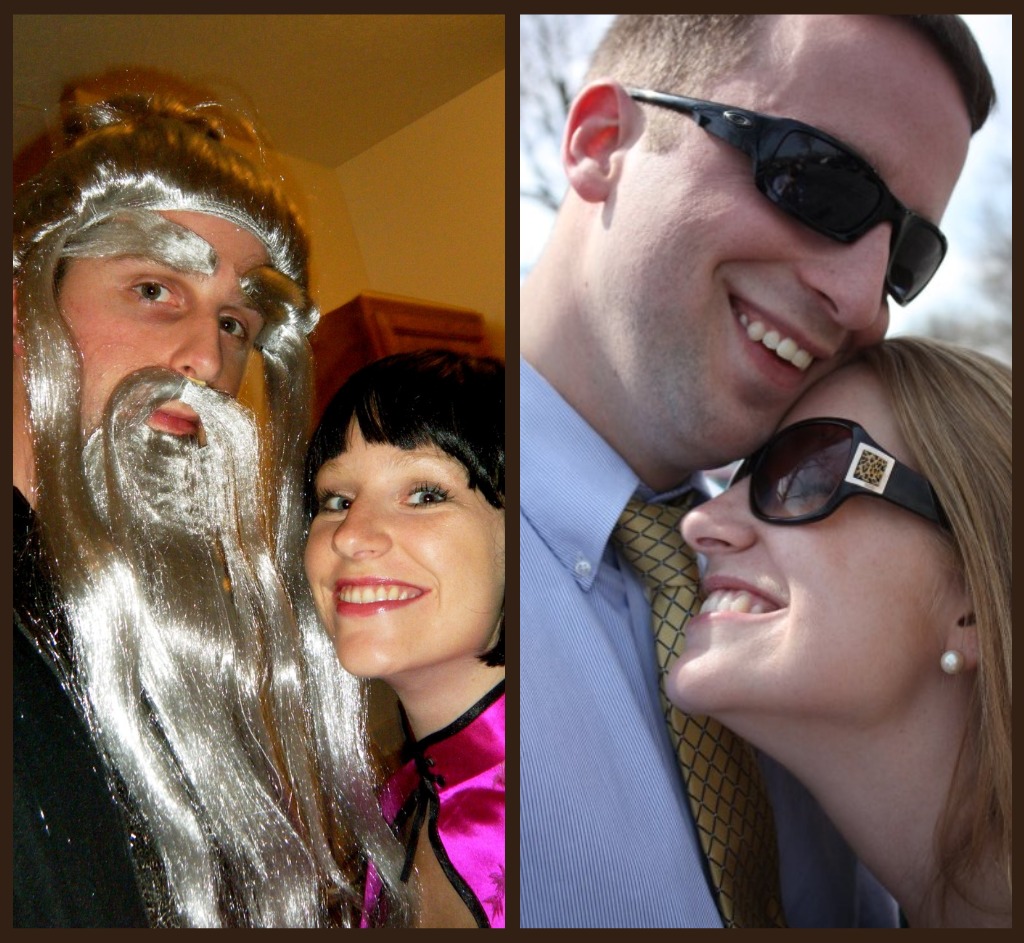
Of course, my boyfriend, Matt, knew nothing of the story of "Sam" and her nickname for me, but often called me Lovie and Miss Lovie when we first started dating (and still does every day) just because. Teaching and my love for a wonderful man are the biggest parts of my life- it only made sense that I would call myself Miss Lovie for blogging (and possible future Etsy) purposes. Here's some pics of Mr. Lovie and me just so you can tell how wonderful he is, too....
Halloween 2010, Keenland 2010

Hilton Head Island, Christmas 2010


Outer Banks 2009, New Years 2010, First Valentine's Day date: sushi!


So there you have it: the reason behind the name. Might be a little silly, but it fits, and I like it. Hope you do, too :)

Sorry if I bored you during this post...I will have something crafty soon. I finished report cards last night. Unfortunately they have taken over my life for several days and I haven't been able to do anything fun! New posts soon, though. I've got some Valentine's and jewelry ideas I want to try!

Thursday, January 6, 2011

Ornament Pillows-a little late

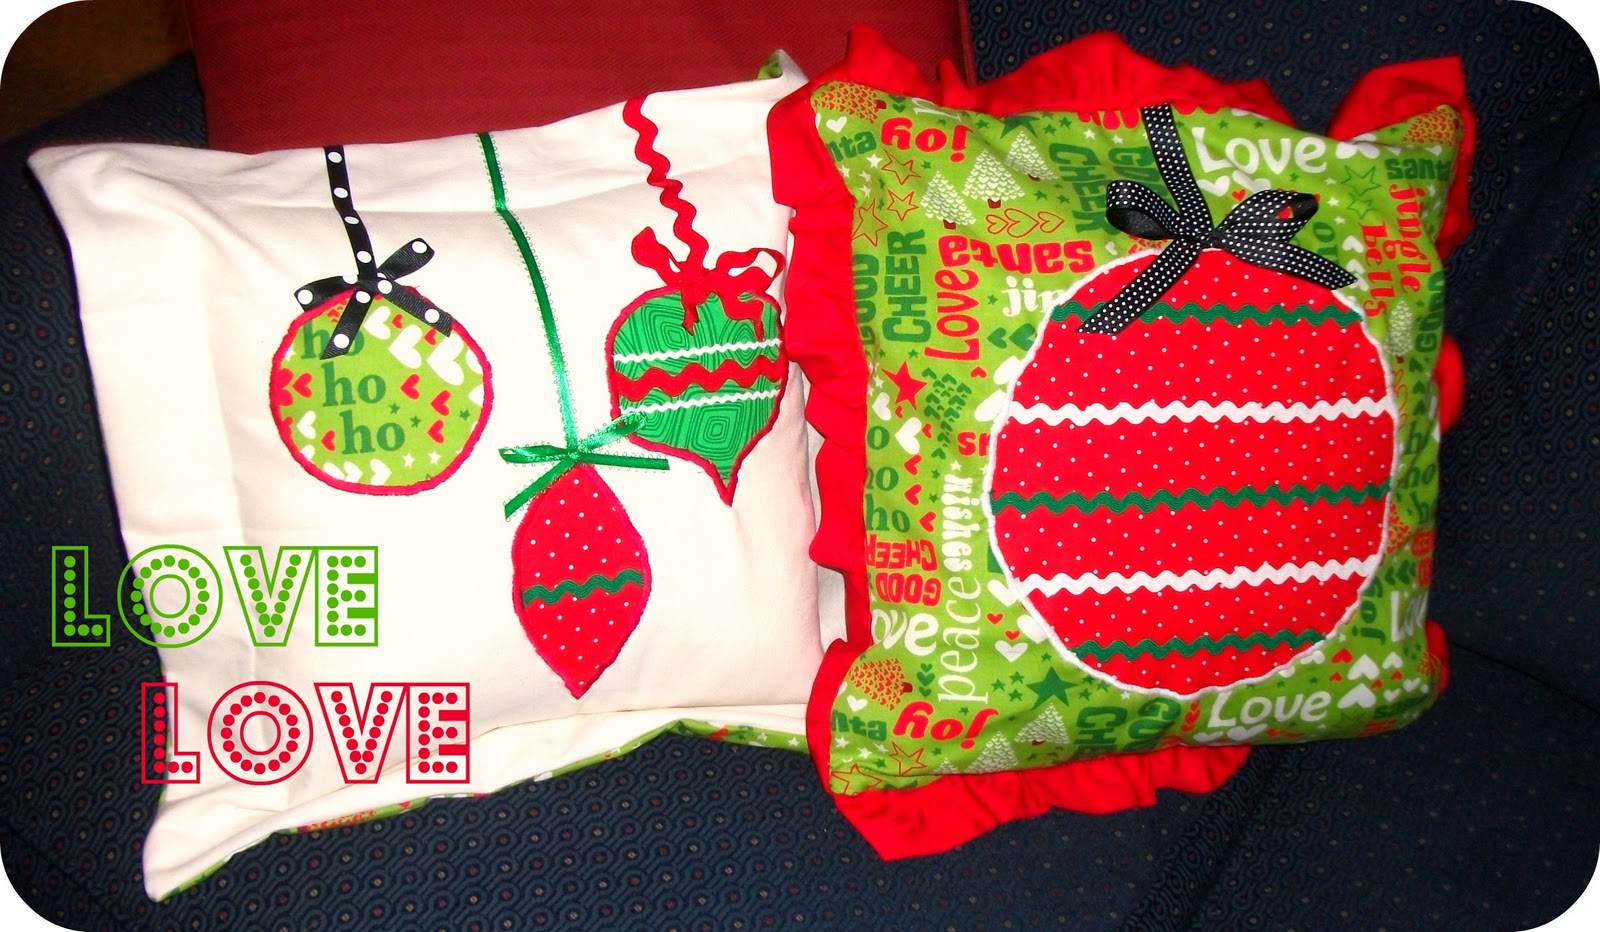
After seeing this post on Tatertots and Jello I knew I had to make some pillows like that! Instead of using fabric paint, though, like Jen from Tatertots and Jello did, I appliqued the fabric onto the pillow front and used a zig zag stitch to finish the applique. Everything else I did the same. I love how they turned out! 
My pillows were square and smaller than Jen's were in her tutorial so I had to use less ornaments, but I still like it. I didn't take pictures of the backs of these, but I just did an envelope closure on the back like Jen explains in her tutorial, as well. On the white canvas pillow I used the green print fabric for the back and on the large ornament pillow, I used solid red canvas. 
I guess I should've straightened the ruffles on this pillow before I took the pictures...goodness. I love the ruffles, but since I'd never used trim on pillows before, they're definitely not perfect. These were a gift for my step-mom, Marti, so the imperfections were no matter. She loved that they were homemade like most people do. I also made some more like this that are just a little different for my friend, Dara, and will post those pics when I have them.

For one of my first real sewing projects since I got my machine, I'm feeling pretty good about these. Yay.

I was sort of a pillow-making-machine this past Christmas. More pillows to come -don't worry the next ones aren't Christmas-y. I realize that wonderful holiday is actually over now (even though our tree is still up. Oops.) 

Wednesday, December 29, 2010

Fabric Fridge Frame

Happy Holidays, all! 

I hope everyone is having a wonderful holiday season. My blogging has been slow due to working hard on last-minute gifts (including this fabric frame) and traveling to visit families for the holidays. I'm actually in Savannah, GA now posting this while visiting Matt's family! I hope everyone else is loving their times with their families, as well.

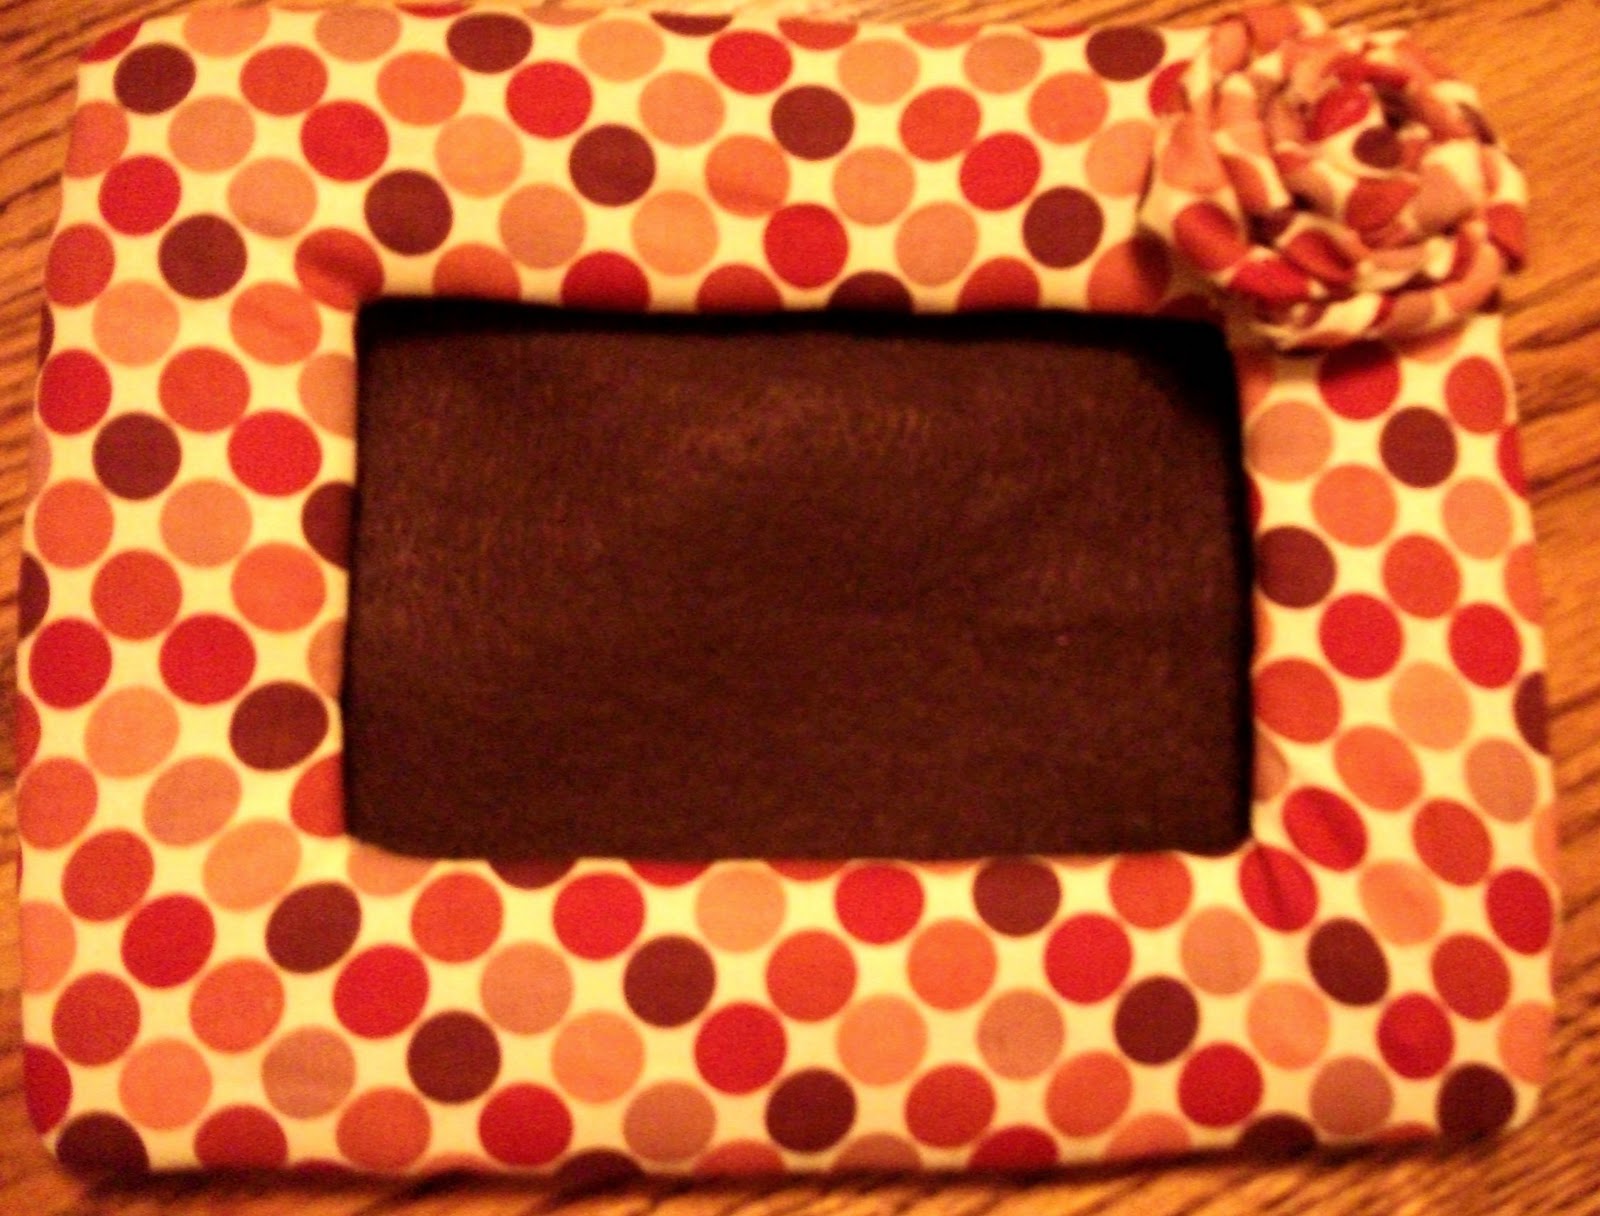
Remember how I said I would be posting some projects made using this precious Christmas fabric I found in this post, here? Well here's the first one! I made this frame and a few others for some teacher friends at school and a parent who helps in my classroom as their Christmas gifts. I used this tutorial that I found while browsing some of my favorite blogs.
This frame is for your fridge and has magnets on the back.

Since it is past Christmas, :) you can use other cute fabrics to make a frame that you can use year-round.


(Please excuse the poor quality of these pictures. My camera is far from professional and I took these around 7 am before going to school.)

I did my first one exactly like Jessica on How About Orange, but it wasn't puffy enough for me. On the next frames I made, however, I used 2 layers of batting and wrapped them around the back of the frame instead of cutting them exactly the same size of the frame so the frame would appear more puffy. I also used hot glue for all frames. When trying to decide what glue to use hot glue is always a great, easy choice. :)

Hopefully the holiday madness is beginning to slow down and I'll be posting more often. Check back soon!

Friday, December 17, 2010

Gingerbread Boy and Girl Ornaments


As usual, my ideas and craft plans are bigger than I can actually handle. I really wanted to make one of these to give to each of the kids in my class since I am giving them The Gingerbread Man book this year  (it was on sale for $1 on Scholastic!!), but of course they took way longer than I'd anticipated. I always assume these project ideas I have will just come together so fast without a hitch even though my projects rarely go that way. There's usually something I have to fix, redo, or I even completely change my mind on how I want the project to be. And of course, I'm not a machine.

I am so glad I made these two though. Now that I've figured out how I want them to be, making more would go faster, just not fast enough to make 24, though, in such a short time! :) I made these Tuesday night thinking I could knock them out in a couple days. I could have if we'd gotten a snow day, but no such luck. The kids were just as excited to get candy canes with their books, instead today. 

Here's how I made the girl! After you see the girl tutorial, the boy will be self- explanatory. 

1. Found a pattern online: gingerbread boy template I used this one for the boy and adapted this pattern to make the Gingerbread girl pattern as shown below.
2. Pin the pattern and cut out two felt gingerbread girls.
3. Glue on embellishments. I used white buttons for the girl, red buttons for the boy, and white ric rac on legs and arms. I first used fabric glue (liquid stitch) on the ric rac and buttons, and I tried to use it for the felt eyes and mouth, but it soaked through. I used the hot glue gun for the face. I could probably have used the glue gun for all embellishments.
4. I set aside gingerbread girl and sewed a ruffled strip of red felt for her skirt. Ruffle strip should be twice the length as your gingerbread girl and about an inch wide. My skirt strip before ruffling was 5 1/2 inches long and 1 inch wide I eyeballed mine just by holding up felt to the gingerbread girl to see where I wanted it to be and how far up on her body it should be. I made sure the bottom of the skirt would be touching the bottom of the "skirt" on the gingerbread girl cut-out. After sewing the ruffle skirt I pinned it to the girl and sewed it in place. (Here's a good tutorial on sewing ruffles if needed.)
5. Pin the top gingerbread pattern and the bottom pattern together. (Notice the skirt is not in this picture. I  kinda forgot that I should have sewed on the skirt before sewing the two cut-outs together. You should do it the other way around so the red thread doesn't show through on the back and there isn't a line across the back either! :) ) 
I forgot to take picture of it, but be sure to go ahead and put a loop of ribbon between the front and back gingerbread girl cut-outs at the top of the head. I put a dab of hot glue on the inside to hold it down so I wouldn't have to worry about it slipping around. 
6. At this point, you could use an embroidery stitch and thread and hand stitch around the edge, but I chose to sew it on the machine since I was trying to be fast. It may have been just as fast embroidering, but I don't have any experience with that so I went with sewing. I needed the practice anyway. :) It seems that most felt ornaments are made using embroidery stitches.

7. I made the felt bow using this tutorial  and hot glued it on. The felt strip I used to make the bow was about a 1/2 inch wide and 3 inches long. 
I made the boy the same way!

There are a lot of sweet Gingerbread boy and girl ornaments out there so this is just one way to make them. I just thought I'd share mine. :)
They look pretty sweet on our tree. Maybe if I start in June of next year and make a couple once a week I'll have them ready for next year's kids. haha. 

Linking this post at Craft Envy. Check out more awesome handmade Christmas crafts on her awesome blog!
HollyBloggyButton1
Related Posts Plugin for WordPress, Blogger...

invisible ad