Thanks to everyone who voted last week on So You Think You're Crafty! I made it to the next round!! I think when I did it last year, I didn't make it through week 2 so I'm excited I did this time!
Week 3's "Summer Bounty" projects are up now! Go Vote for your favorite!
Now on to today's project! This was my Repurposed Project from last week. Did anyone guess it was mine? :) My close friends might have guessed because of all the gold. I kinda love gold-decor, jewelry, anything.
Anything made out of book pages has been a very popular "repurposing" project for a long time. While I love the book page wreaths and mod podged items, I've always loved book page art.

I desperately needed something on the walls in our guest bedroom, and there is nothing cheaper than DIY wall art.
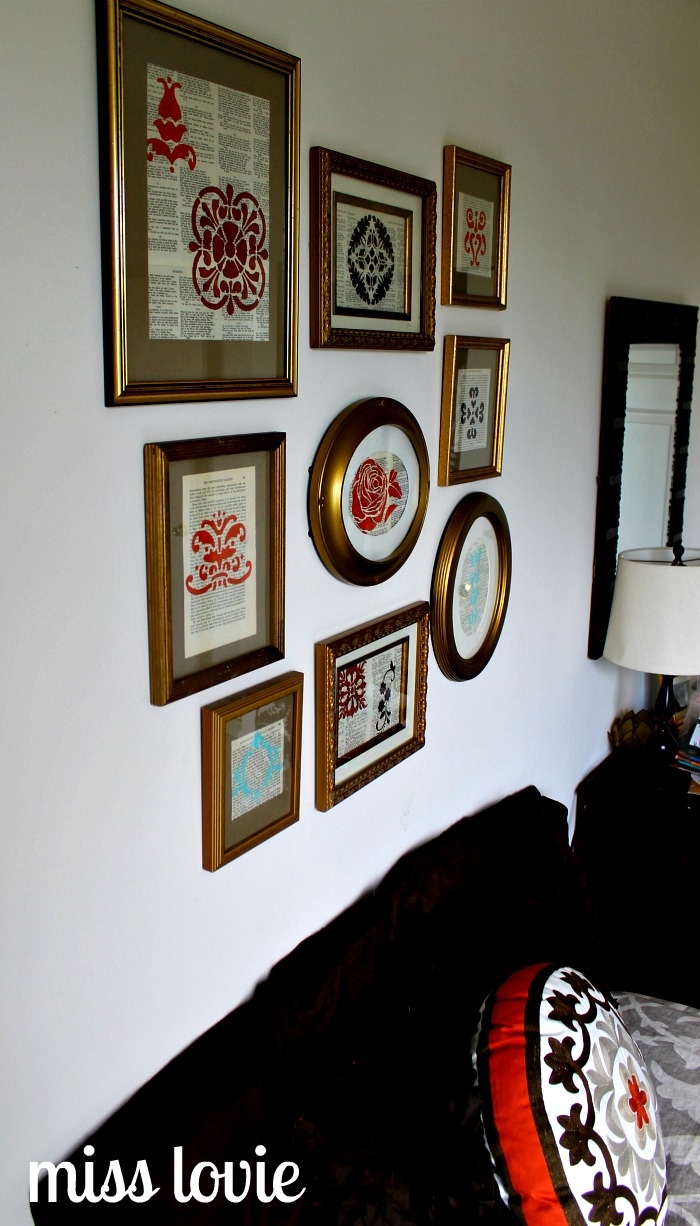
I used stencils to create art on the pages of William Shakespeare's plays and the pages of H.G Wells' "Outline of History". Both old books I bought for $3 each and I found all the gold frames from thrift stores.
I made framing mats for the frames that needed them and hung them in our guest bedroom above the bed. I just love how it all turned out.

I made framing mats for the frames that needed them and hung them in our guest bedroom above the bed. I just love how it all turned out.


Love.
Want to make your own book page art gallery wall? It's super easy.
Materials:
Old frames, all sizes (thrift!)
Old books, medium-large(thrift!)
Exact-o Knife
Stencils
(can find for cheap/use coupons at Michael's, JoAnn's, Hobby Lobby, Walmart, etc.)
Paint
(I used stencil paint and acrylic and the stencil paint definitely didn't run as much under the stencil, but you can't always find it in the colors you want.)
Stencil sponge brushes
Stencil Adhesive (or any spray adhesive-if you can work fast)
Poster board or card stock to make mats for frames
(I used a taupe-ish color poster board I found at Michael's-cheaper!)
Pliers (maybe)

Find your frames first so you know how you want your book pages to sit/what size mats to make for the frames. I got super lucky at the thrift stores and found several sets of matching frames! I'm not one to be so matchy-matchy, but having two of the same frame a few times in the whole gallery wall, spaced out looked nice.

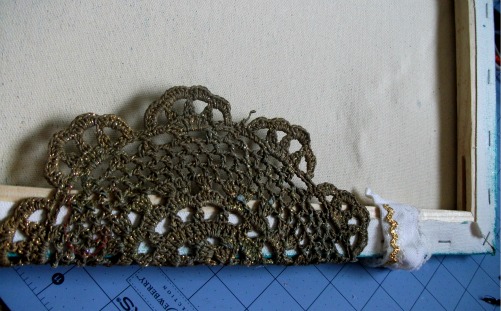
Some of my frames were pretty old and had paper backing glued on with staples on top. Some of the staples I had to remove completely with pliers and others I could just pull back in order to get the back of the frame out.

On the older frames I had to cut out the backing in order to remove the art/picture inside.
Clean all glass/remove all art/pictures.
**Before you start cutting book pages, lay out all your frames on the floor and decide how you want your gallery wall to look. Be sure to space them out evenly (and if you're trying to get it totally perfect you can even measure between frames so they're evenly spaced). Make cut-outs from poster board/cardboard/grocery bags, etc. of each of your frames and put those in the wall in the same pattern your frames are on the floor. Be sure to find the center of where your gallery wall art will be and work out from there. Move them around until you like it and then transfer the frames to where the cut-outs are.
Read more details about this process here on HGTV's website.
It sounds tricky, but it's not. Have fun with it!

I was super excited I found the Shakespeare book. It worked best for using two pages side by side. (More on that in a second.) Medium/large books will work best.

Cut out pages from your book by carefully sliding your Exact-o knife down the inside spine of your book. Cut as straight as you can.
Now lay out your book pages on each frame to see where they will go. Some frames may need two pages side by side to fill the frame (More about that below). Decide if you need to make a new mat or use an existing photo mat. Some of the photo mats I could reuse, but some frames were too big and needed smaller mats to frame the book page(s) I wanted for that particular frame. You can buy these or make your own!
To create the mats needed for several of the frames, I used this video to help me create the photo mats.

I wanted some frames to go up on the wall horizontally, but then the book pages were not wide enough to fit in the frame if I kept the page vertical so the words read correctly. To fix this, I simply taped two pages (that went together in the book-side by side!) together from the back. My Shakespeare book was perfect for this. I cut out two pages that went together (like page 109 and 110) so that if you opened the book those were the two pages open. Then I straightened out the edges that would be taped together by laying them on top of each other and using a ruler and a rotary cutter to make a straight edge. I flipped them over and laid them edge to edge (not overlapping, just touching) and taped all the way down the back where the two pages touched. When I turned it over, (on the Shakespeare pages), it would say "Act IV, Scene II" or whatever and (because I'm an English nerd) I thought that was awesome.
On the smaller frames or frames you plan to hang vertically, you probably won't have to do that.

Next you need to choose a stencil or two. On some frames I just centered my stencil and only used one and on others I used two. It's up to you. They do sell stencil adhesive and it would probably work best, but I didn't want to pay $5.99 so I just used the regular spray adhesive I had. This will work-if you work fast. Ha. The spray adhesive will pull the paper apart if you wait to long to remove the stencil. This only happened to me once, however, and most times it was very easy to remove.
First, position your matting over your book page to determine where you want your stencil to go. Spray the back of your stencil lightly with adhesive spray and lay your stencil on top of the book page and press down around all edges (to prevent paint from seeping through). Remove matting and get ready to paint.

Using a stencil sponge, dab the paint all over the stencil. Work in a back and forth sweeping motion or circular motion, being careful not to go too fast or pull up the cut out parts of the stencil so the paint doesn't run under the stencil.
I do recommend stencil paint. It's cream-based and won't run and looks very clean. Stencil paint, however, may not come in the color you want so if you use acrylic, just be careful. As you can see above on the last picture on the right, some of the paint ran under the stencil and I just touched it up with a small paint brush by creating my own design so that I wouldn't have to do that page again!
After you're done painting, carefully peel back the stencil and set aside.
Let dry. Cut to size. Place in frames, hang frames on wall, and you're done!

Thanks so much for reading!
And for voting!
I really appreciate you. :) See you soon!
Tomorrow I'll be back for another 30 with 30 Challenge post and I hope to have more tutorials up this week, too. I'm headed out of town again on Wednesday, but I'm going to try to keep things going around here. :) Have a great Monday!
Linking to the parties on my sidebar.